Five Unbelievable Secrets of Reactive Programming the Experts Don't Want You to Know!
Totally non-clickbaity article about lessons learned from reactive programming.
Based on a talk given at Playgrounds in Melbourne, February 24, 2017.

I was asked to come up with a super click-baity title for the talk and here it is: Five Unbelievable Secrets of Reactive Programming the Experts Don’t Want You to Know!
(Exactly why the experts don’t want you to know these things is still unclear to me.)
I’ve heard it said about learning Lisp or Prolog or functional programming — even though you might never use Lisp again, learning the language and how it works will (supposedly) change the way you think about writing code and change the way you design programs.
Does the same thing apply to reactive programming? It did for me; writing apps with RxSwift highlighted some best practices and architectural choices that I already knew about, but are much more at the forefront when thinking in the reactive style.
These aren’t actually “secrets” per se, but more like “big picture ideas” that solidified in my head as I learned more about reactive programming. Read on to find out what they are!
1. You already know it
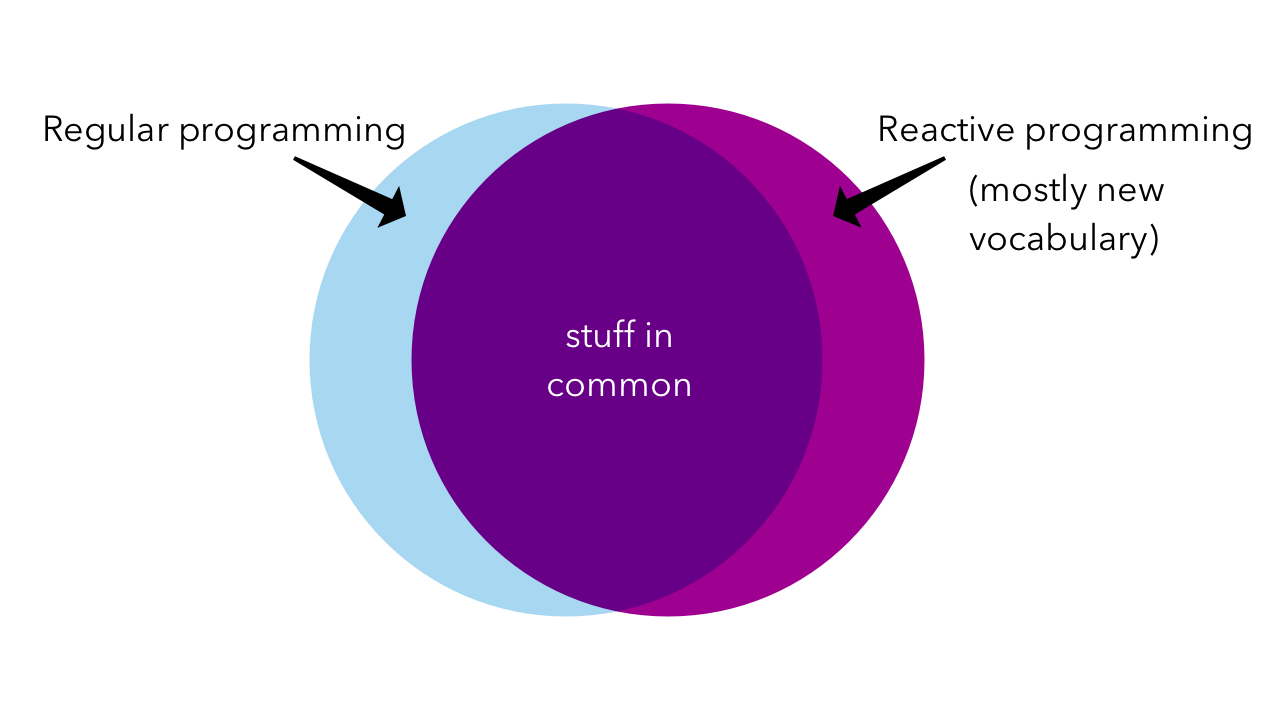
The good news is you already know the pieces that make up reactive programming.
If you’re writing iOS apps in the “traditional” Cocoa style and you learn about functional programming, you already know what a function is. It’s more about learning a new style, a new way of thinking, and perhaps some new words such as everyone’s favorite, “monad”.

Same goes for reactive programming: you’ll see old concepts like sequences, closures, and map used in familiar but novel ways. The way they’re put together, and the language used to describe it may be new but the building blocks are the same.
2. Everything is a sequence
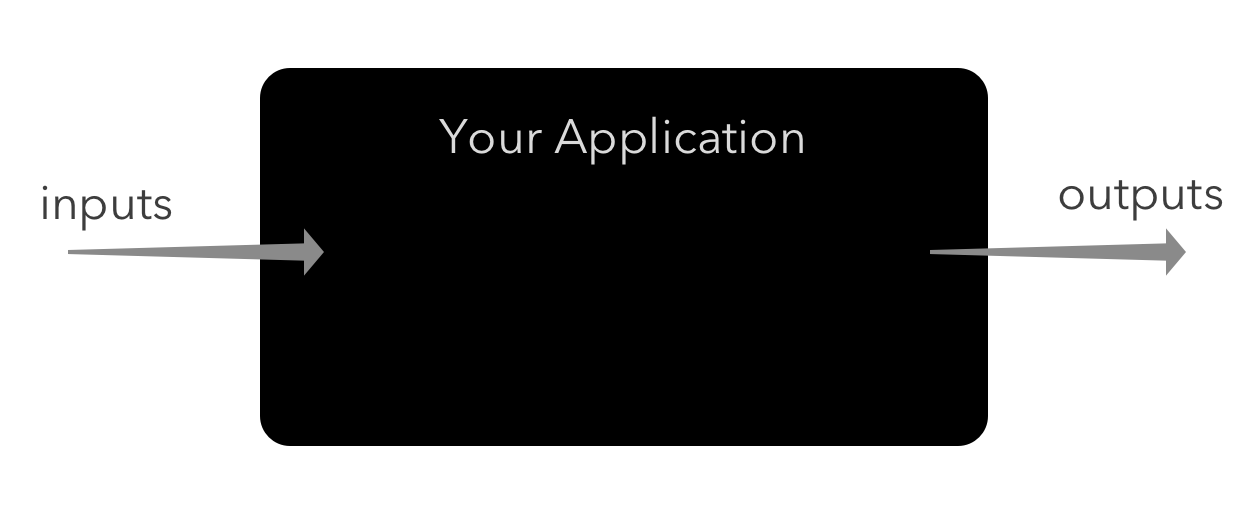
The first thing I think about when designing an app in the reactive style is: what are the sequences? I like to split them into two big categories, inputs and outputs.

Thanks to extensions on common classes provided by RxCocoa, you get many of these sequences, or observables included out of the box.
For example, UISlider has an observable providing a sequence of Float values. UIButton has an observable that fires every time the button is tapped.
You can make your own observables too. I wrote one for a Mac app, to keep track of mouse clicks. NSViewController receives a mouseDown(with:event)method call whenever there’s a mouse click on the view. You can have RxCocoa listen for that method call, and turn that into an observable:
self.rx.sentMessage(#selector(NSResponder.mouseDown(with:)))
  .map({ (params) -> NSPoint? in
    if let event = params.first as? NSEvent {
      return self.view.convert(event.locationInWindow, from: nil)
    }
    return nil
  })
In this case, the first line sets up an observable that produces a value every time mouseDown(with:) gets called. Then we can map over that observable (which remember, is just a sequence) and produce an output observable of NSPoint values.
3. Small pieces of logic
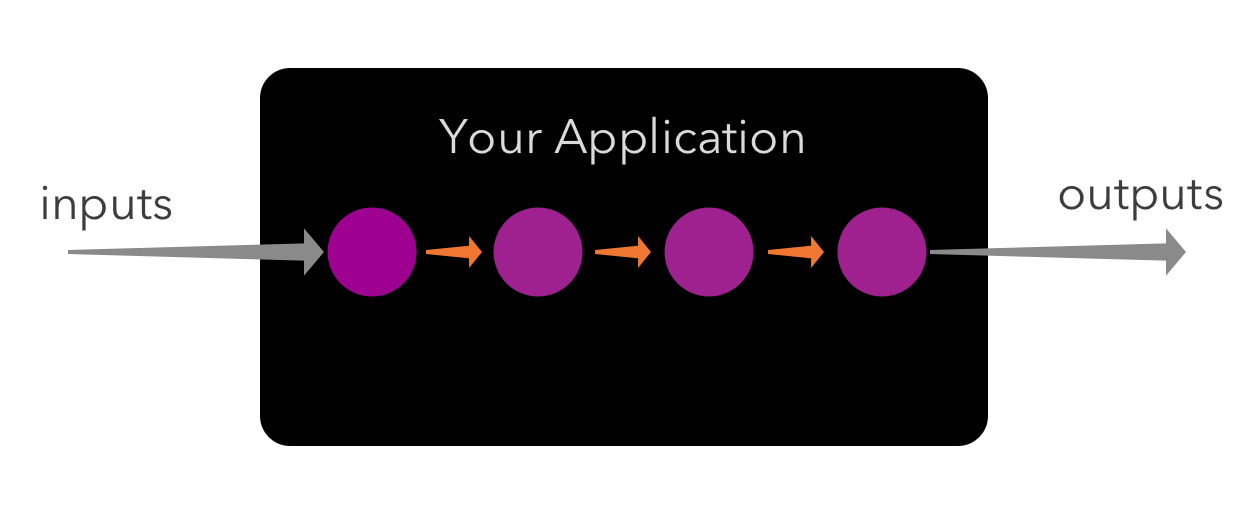
In the example above, we had a sequence of events that needed to be transformed into a sequence of points. Each of these transformations pushes the data through your app.
Within the big box that is your application, there are smaller sequences within.

Each step along the way is its own operation, looking something like another map with a closure. This structure means your programs can be made of small, discrete pieces of logic rather than monolithic massive view controllers.
4. Declarative style
With all these sequences floating around, how do you get them connected together to perform useful work? Up until now, we’ve only seen sequences transformed into other sequences.
Another useful thing you can do with observables is subscribe to them. That means whenever there’s a new value available, or something else happens such as an error or the observable completes, you can provide a closure to react to it.
In the simplest case, say you have an observable that produces strings coming in from some source such as the network. You could subscribe to this observable, and set the value of a label.
someStringObservable
  .subscribe(onNext: { (stringValue: String) in
    self.label.text = stringValue
  })
As a shortcut, you could use the bind function and take advantage of more RxCocoa extensions:
someStringObservable
  .bindTo(self.label.rx.text)
The magic rx property provides properties that can be read or written to. A text field, for instance, can be bound to but you could also subscribe to changes since they accept user input.
The magic comes once you’ve set up all your observables, maps, subscriptions, and bindings: at that point, you can start up your application and all the pieces are magically connected together. Thanks to the declarative approach, you’ve set up the logic of all the transformations and relationships and can now wait for input to start flowing through.
5. Testable code
Having logic in small discrete pieces means they also become easy to test.
Take a very simple example: a class that takes as its input an observable that produces integers:
class SomeController {
  // Input observable providing a sequence of integers
  var intObservable: Observable<Int>

  init(intObservable: Observable<Int>) {
    self.intObservable = intObservable
  }
}
It has a computed property that transforms the input integers into strings:
extension SomeController {
  // Output observable that converts the integers to strings
  var stringConversionObservable: Observable<String> {
    return intObservable
      .map({ (intValue: Int) -> String in
        return String(intValue)
      })
  }
}
You want to test this out. In your app, intObservable comes from some place, maybe the network, maybe user input—it doesn’t really matter. All you want to test is the conversion operation. In this case, the conversion logic is simple but you can imagine having a map with more complex business logic in there.
Between a sequence of integers and a sequence of strings, how are we going to mock these things? If only there were some easy way to mock an ordered, iterable sequences of integers, right? 🤔
At this point, I hope you’re thinking of arrays. Yes, you could take an input array of integers, push that through the observable, and get an output array of strings:
// Test input data
let input = [1, 2, 42]
// Turn the array into an observable
let inputObservable = Observable.from(input)
// Initialize the controller with our test observable
let controller = SomeController(intObservable: inputObservable)
Observables are usually asynchronous since you can’t tell when a value will be available ahead of time. Since this is a test with a fixed array, we can turn this into a blocking observable so it waits for the map to complete synchronously.
// Thanks to the toArray() call, this will be an regular array of strings
let output = try! controller.stringConversionObservable.toBlocking().toArray()
Then it’s a simple matter of making sure the output matches what you expected.
let expectedOutput = ["1", "2", "42"]
XCTAssert(output == expectedOutput)
Done! The nice thing about having inputs and outputs modeled as sequences is that when we need to mock them in tests, it’s very easy to do so thanks to arrays.
Beyond the five secrets
After learning the basics of reactive programming, these “five secrets” encapsulate some big ideas about software architecture and how I want to structure my code. I’m thinking more in terms of streams of data and small blocks of testable code.
If you want to learn more about RxSwift, I’d suggest the following resources:
rx-marin — excellent articles with lots of RxSwift example code
ReactiveX.io — language- and platform-neutral guide to the Rx style of programming
If you were at the Playgrounds talk and want to check out some resources from the talk:
Sample Noughts & Crosses game source code