Switching Your Brain to Swift
Existing codebase + existing brain + Swift. What could go wrong?
Based on a talk given at 360iDev 2015. Check out the video too!
The gold standard is, of course, a 100% Swift project started from scratch. If you can do it: great!
But for those of us with existing codebases and an itch to start with Swift, where can we get started?
Why?
To take a step back: why would you even want to write in Swift? Plenty of reasons: Swift is the new shiny; Swift has nicer syntax (begin flame wars); Swift is the direction Apple is steering us in.
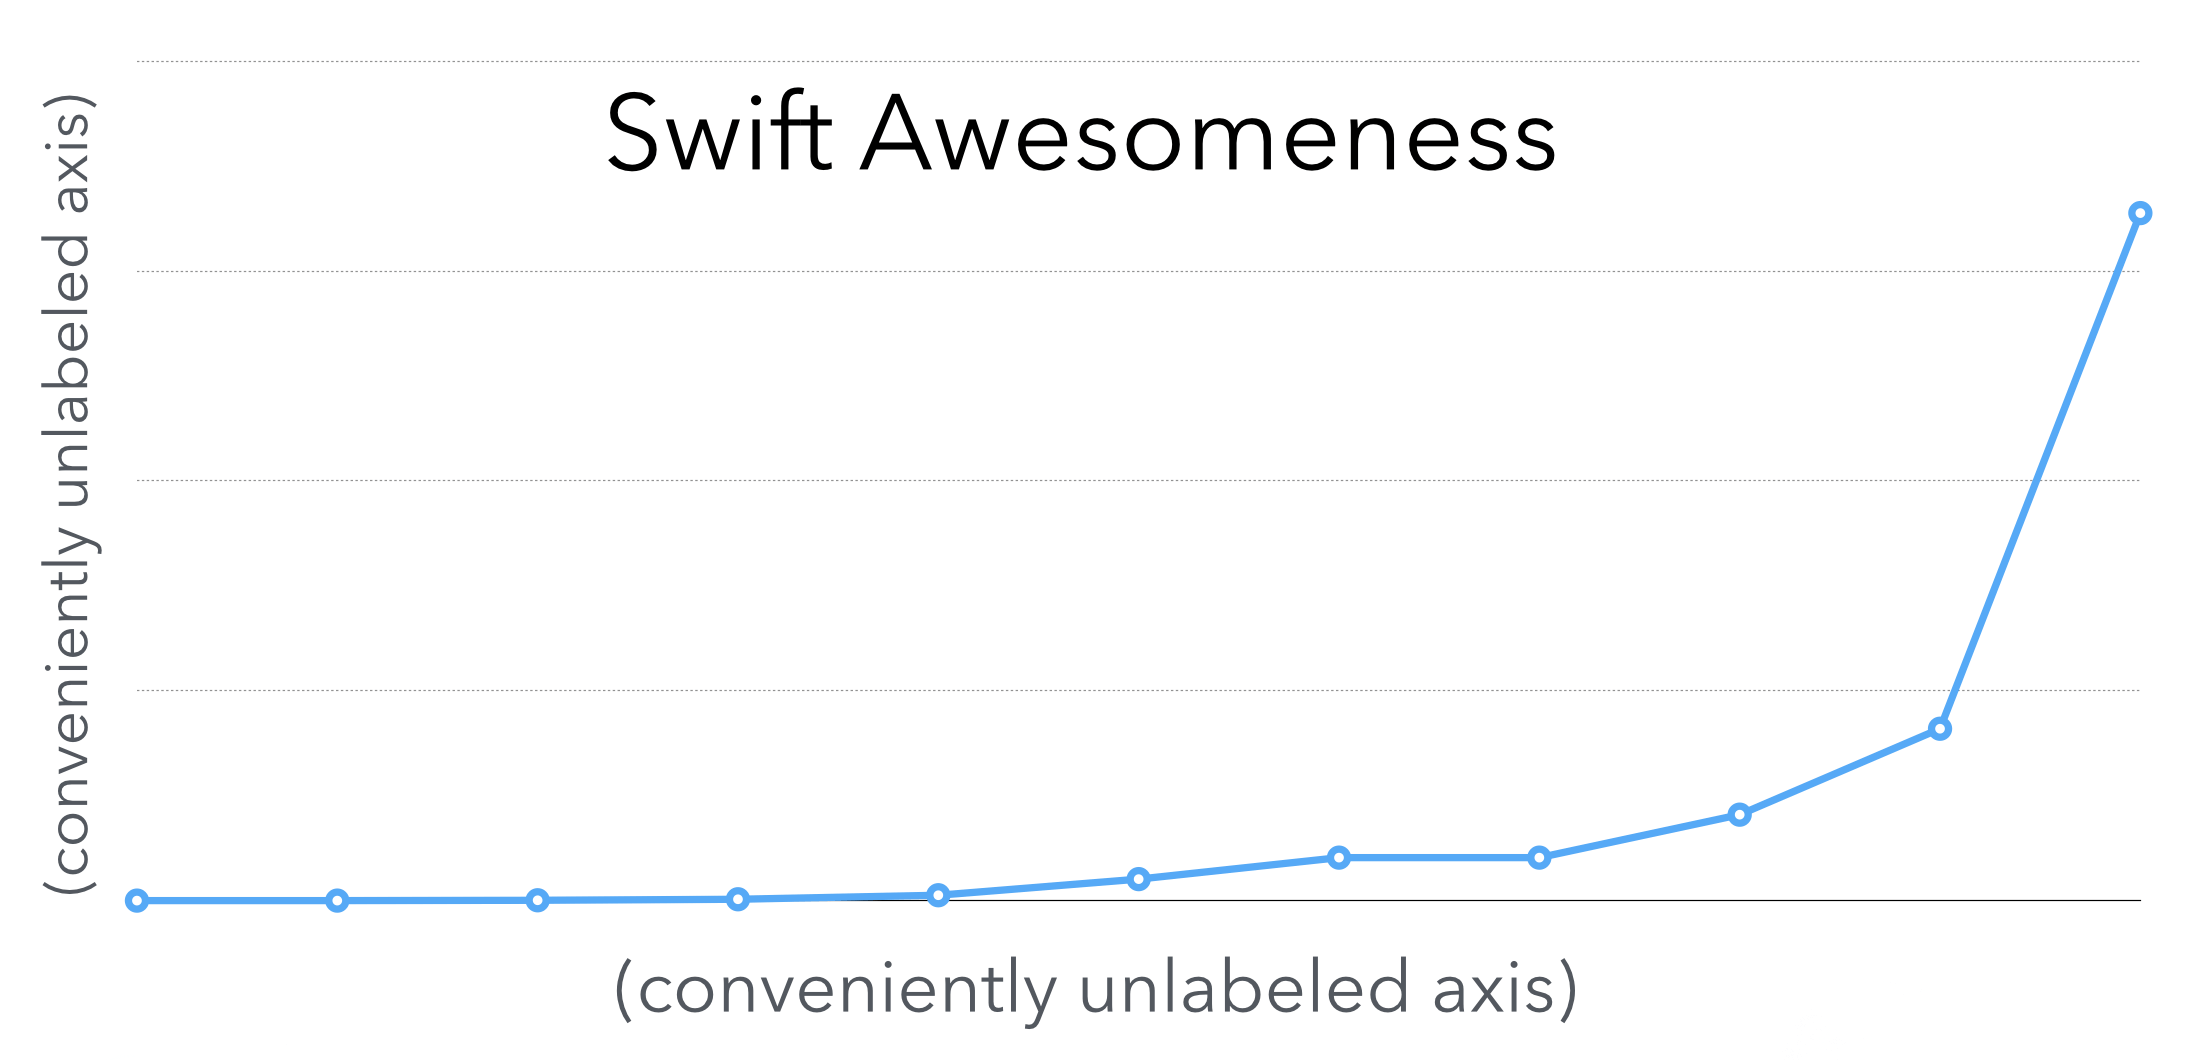
In the future, Swift awesomeness will continue to increase and Swift will be the preferred, best-supported, and easiest way to write code for OS X and iOS.
It’s the way of the future; simple as that. What can you do to start thinking in the Swift way?
The Swift Way
There are many things to consider, but let’s discuss two big-picture items: safety and value semantics.
Safety
Nil in Objective-C is awesome. You can message that thing like there’s no tomorrow and the runtime will keep providing responses.
Nil in Swift, however, is quite a different beast. Generally the type system will save you and prevent you from trying to call a method or access a property on nil. But you can get around the type system, and doing so is as bad as dereferencing a null pointer in C: you’ll get friendly trap at runtime and your app will crash.
In Swift, it’s all about type safety. A String is a String is a String. In that case, nil doesn’t even come into the picture. Think more like C++ references rather than C pointers, in that these things will never be nil.
Optionals
With optionals, nil is back in the picture. An optional String could indeed be a String or it could be nil. You have to check. Every time.
Or not: you can just force unwrap the optional. Or change it to be an implicitly unwrapped optional, which means it’s an optional with an inferiority complex and acts like a real value – except when it’s nil, and the app comes crashing down.

Cocoa is full of optionals. That means every time you have one, you have to check what’s inside.
That’s a big shift in thinking. The idea is, you shouldn’t leave messaging nil up to chance. You should know, with a strong type system, whether something is nil or whether it’s a value.
And if it’s uncertain at run time, check. Don’t force unwrap.
Think of optionals as a box: the box can either have nothing (nil) or a value. But you always have to check before you unwrap or “unbox” the thing.

What’s inside the optional box, you ask?
There are plenty of other examples demonstrating safety in Swift: initializers, less undefined behavior, memory safety. Nil safety is a pretty common one that comes up all the time.
Value types
Value types are everywhere in Swift. That’s nothing new – Objective-C has primitives like NSInteger and structs like CGRect. But the vast majority of things – NSString, NSArray, and so on – are classes and thus reference types.
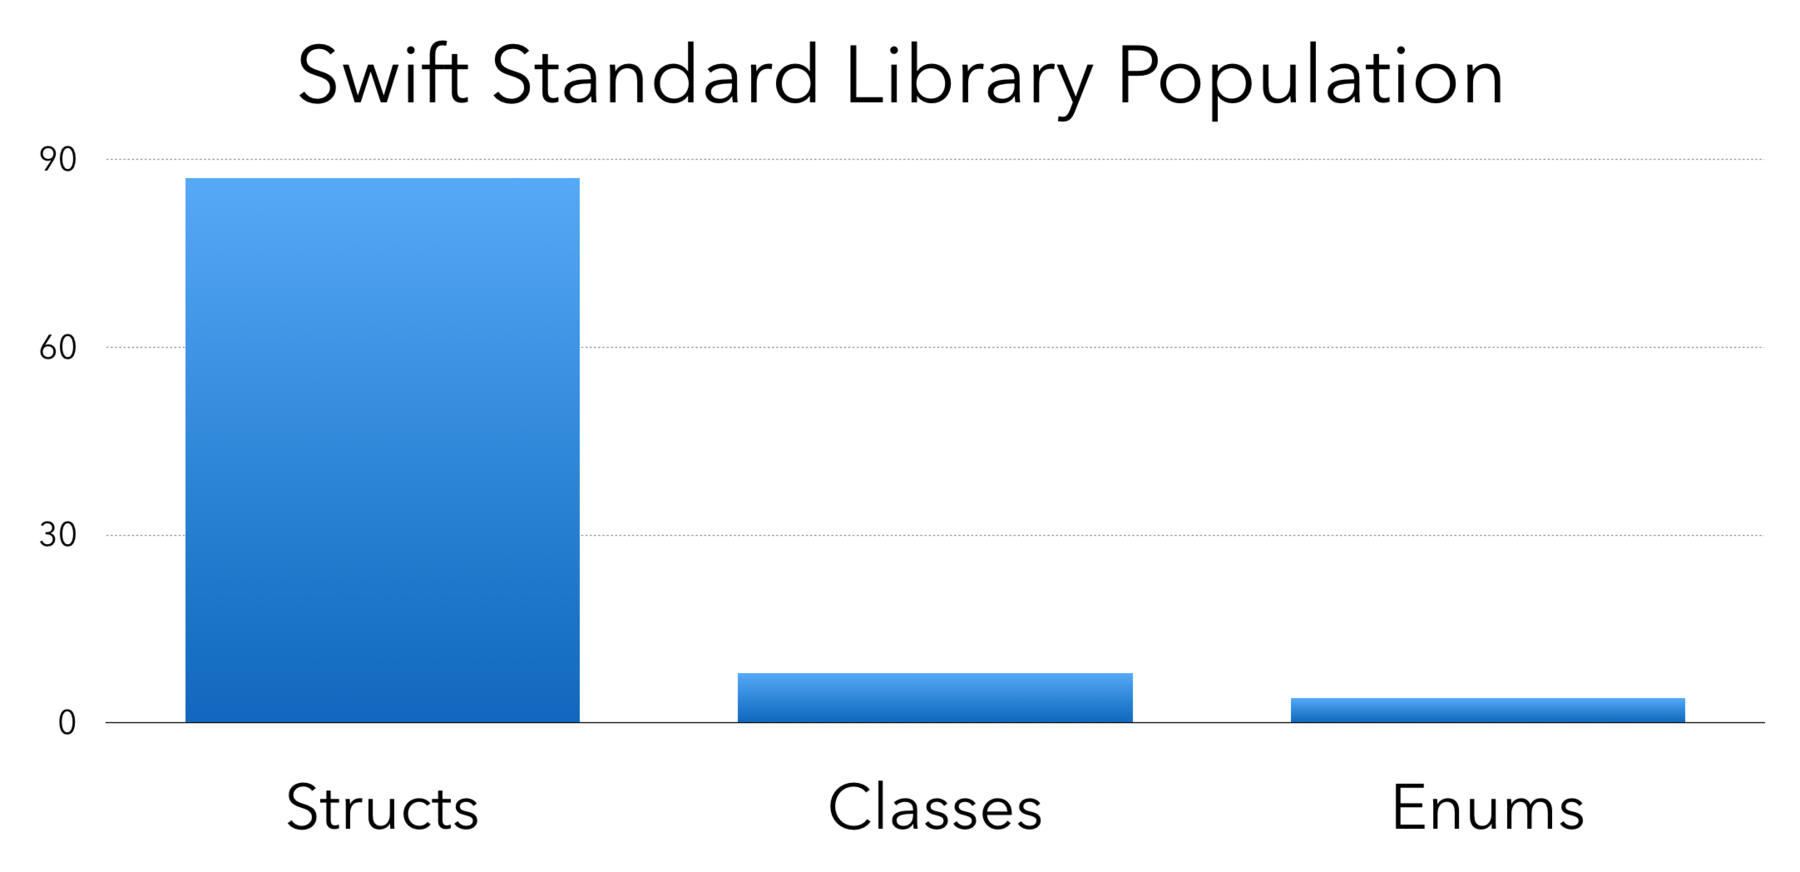
In Swift, it’s the complete opposite where the standard library has over 80 structs and only 4 classes if you scan through the headers.
Strings and numbers and collection types are value types in Swift. That means if you have a mutable Swift String (which is a struct) and pass it into a function, you get a copy. Again, this isn’t a terribly new concept: we’ve had copy and mutableCopy in Objective-C for a long time. The big shift here is that it’s the new default behavior for many common types.
Unfortunately, if you do something awesome with structs in Swift; you won’t be able to access them back in Objective-C. That takes us to our next big topic: Bridging.
Bridging
Swift was of course designed to work well with Objective-C. This is almost a necessity and a given since Cocoa was built for Objective-C. All those Cocoa APIs absolutely have to be callable from Swift, which means your own Objective-C classes also bridge nicely to Swift.
Here’s the problem: starting with Swift, adding Objective-C, and then expecting to call your Swift stuff from Objective-C.
Swift to Objective-C
There are a ton of Swift features such as native structs and enhanced enumerations that don’t bridge over at all into Objective-C. That means if you write the latest and greatest framework in Swift using all its coolest features, you won’t be able to access a lot of this from Objective-C.
Even if you limit yourself and you write things in Swift to use only compatible features, you can’t subclass a Swift class from Objective-C. You could follow the pattern of table views or collection views and use delegates and layout objects to get around the problem, but it’s something to keep in mind if your API is meant to be subclassed.
The default is for nothing in Swift to be visible from Objective-C.
If you mark your classes and protocols and such with @objc, then they’ll be available on the other side. The dynamic modifier also implies @objc so it’ll make things available to Objective-C, but it also makes the property or method you’re marking dynamic use the Objective-C dynamic dispatch.
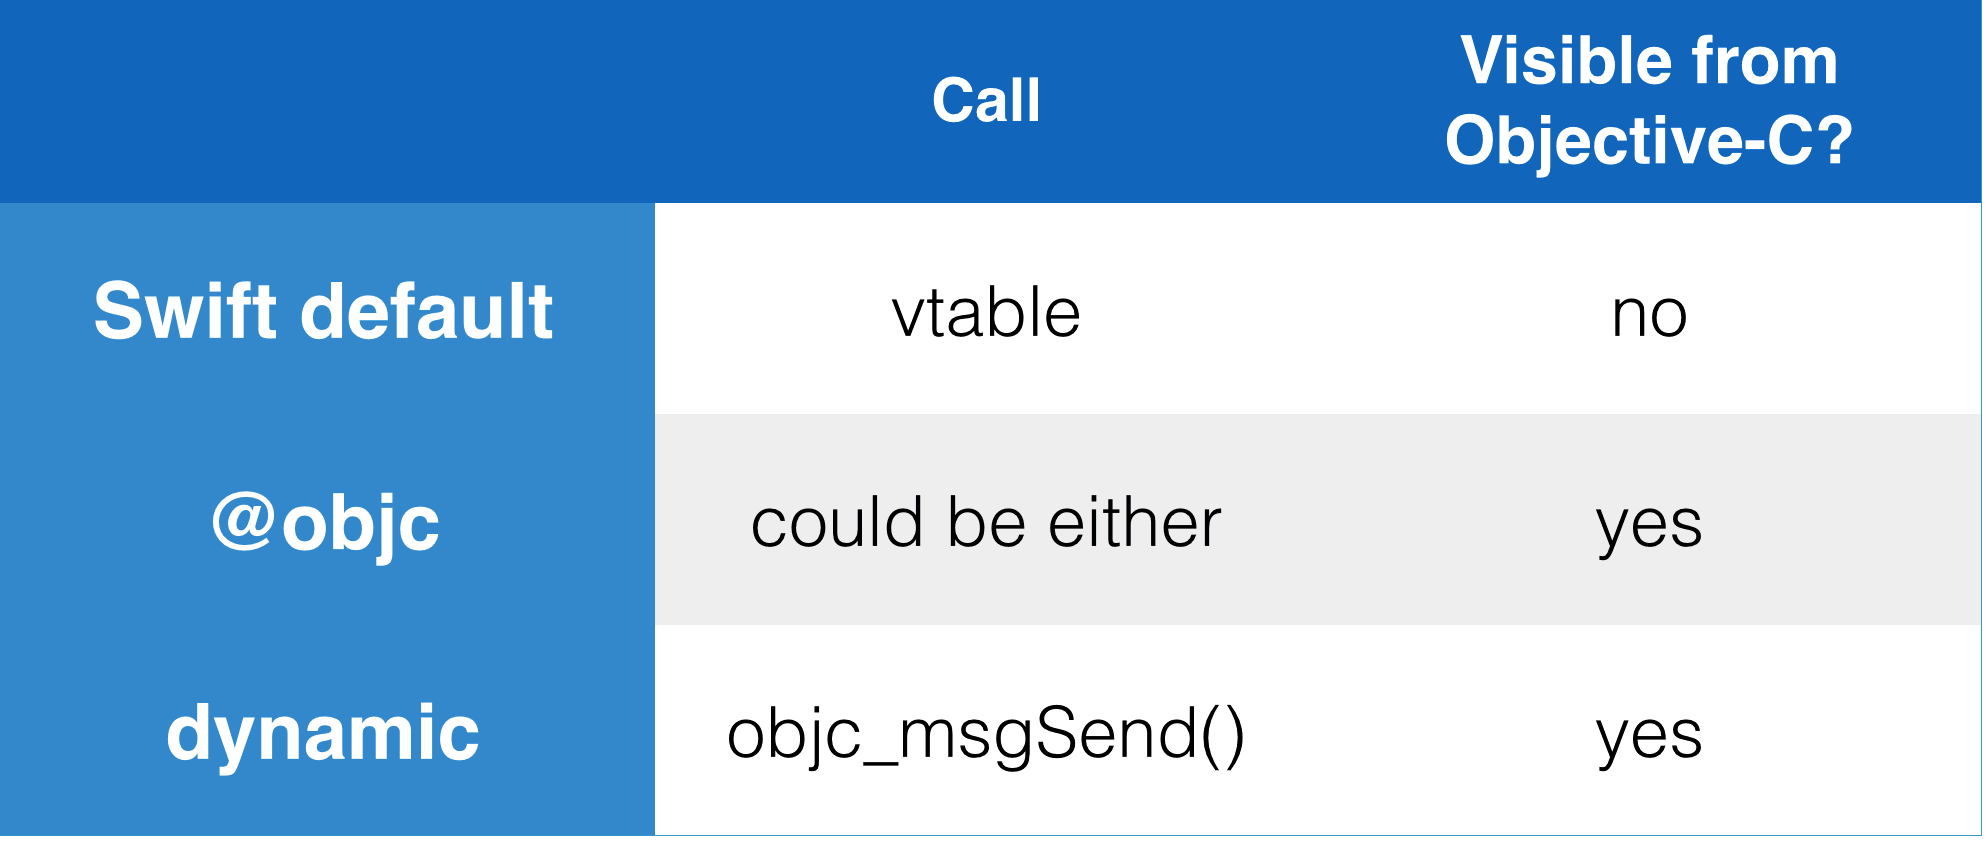
If you want to swizzle or something, you’ll need to use dynamic; just @objc on its own isn’t enough to guarantee things will use objc_msgSend() as it’s still possible that methods will be devirtualized or inlined.
And again: this will only work for compatible features. If you have a method in your Swift enumeration, that won’t make it over. If you have an enumeration backed by something other than an Int, it won’t make it over.
Objective-C to Swift: Nullability
There’s a lot of good news going from Objective-C to Swift. To help this along, you add annotations to the types of your properties, arguments, and return values in Objective-C.
_Null_unspecified(default) – bridges to a Swift implicitly-unwrapped optional._Nonnull– the value won’t be nil; bridges to a regular reference._Nullable– the value can be nil; bridges to an optional.
If you annotate your Objective-C, you’ll get nice typed bridging over in Swift. Even if you never touch Swift, these annotations will show up in the code completion when you write Objective-C. And if you say a method parameter is _Nonnull and you pass in nil, you’ll get a nice compiler warning.
It’s good practice to start adding these annotations. They’ll help you when using existing API, and then get you up to speed when you start using Swift.
Objective-C to Swift: Lightweight Generics
Lightweight generics are new with Swift 2. Collection types NSArray, NSDictionary (for values), and NSSet can contain any old NSObject type.
That means a lot of casting. Not such a problem in Objective-C, but remember: Swift is all about safety. Casting done properly involves lots of checks. You shouldn’t just force cast, you should test first.
Now with generics, that means you can write something like this in Objective-C:
NSArray<NSString *> * _Nonnull
It’s an NSArray that will contain NSString objects. With nullability annotations, you can see it also says the array itself will not be nil; you’ll always get an array. The generics syntax here should be familiar if you’ve written Java or C++.
This will then bridge over to Swift like this:
[String]
A nice, clean array of Swift strings.
A small footnote: lightweight generics only work for the foundation collection classes: arrays, dictionaries, and sets.
Bridge over Troubled Water
I would suggest starting new projects in Swift – all, 100% Swift. If you have third-party frameworks, it won’t matter as much whether those are in Swift or Objective-C – you’ll be able to call through to either.
If you have an existing codebase and you want to start introducing Swift into it: try to keep the bridging in the Objective-C to Swift direction. Actual instantiated view controllers and views, for example, work great in Swift; and they descend from NSObject so you can access them from Objective-C if you have to.

But for all those other things: full Swift generics, enumerations backed by things other than integers, nested types, structs, and so on – those will have to wait until the day you’re in the brave new world of 100% Swift. Don’t get left behind; the day will be here sooner than you think!
Until then: keep writing bridge-friendly Objective-C and stay up to date on Swift. There are plenty of resources for helping you make the transition.
Resources
What’s New in Swift 2 – get up to date on the latest stuff in Swift 2
Swift Guard Statement – someone asked a question about keeping code in the “happy path”, which the new
guardstatement in Swift 2 helps with!Introducing Protocol-Oriented Programming in Swift 2 – Protocol-oriented programming is the new hotness in Swift.
Using Swift with Cocoa and Objective-C (Swift 2 Prerelease) – Apple’s book on Swift + Objective-C + Cocoa